Green Mountain Energy® Blog

How to Start Composting for Beginners

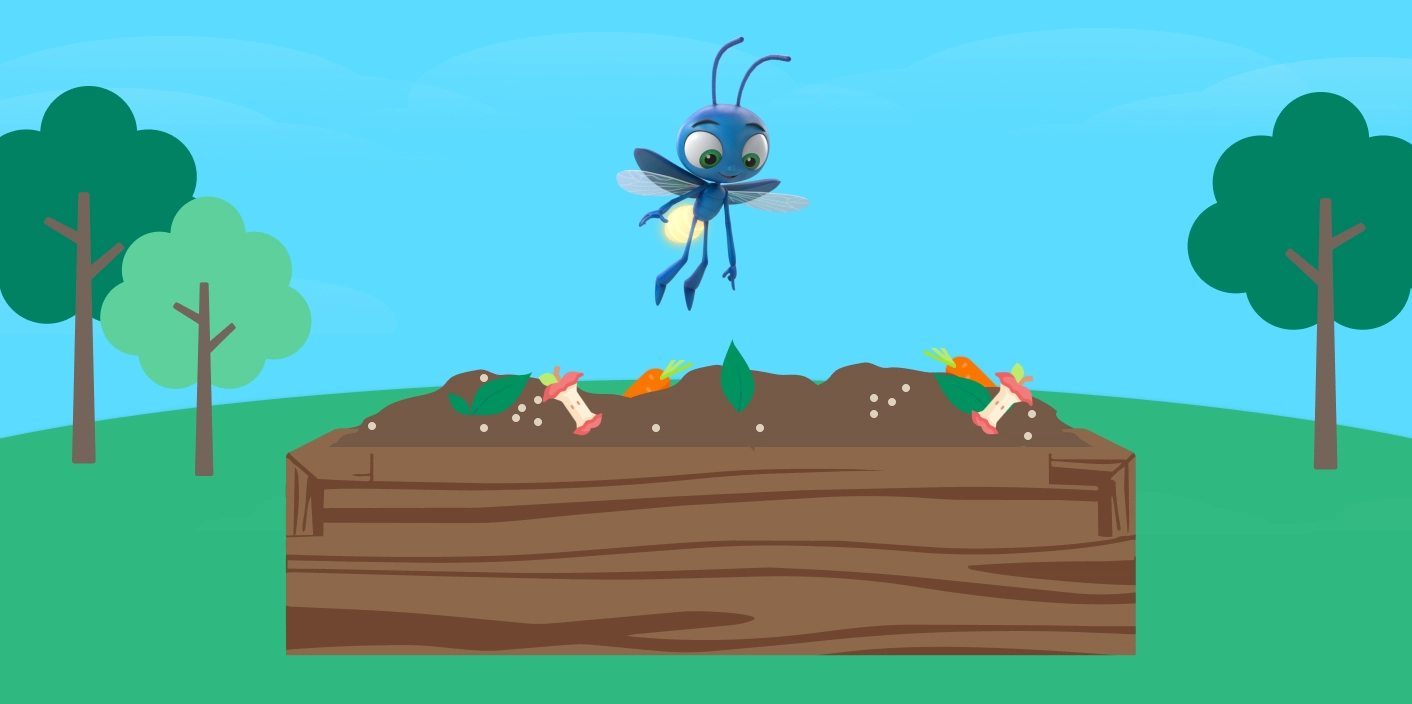
How to start composting for beginners illustration


What if there was a way to turn your home's waste into something useful instead of throwing it away? Composting gives food scraps and yard waste a second life while helping reduce the amount of methane gas in landfills. Even if you've never considered composting before, it's not complicated to learn. Here's the lowdown on how to start composting at home for beginners. 

What you can and cannot compost

Compost is used to nourish plants and fortify the soil, so anything you put into your compost bin should be natural. The best compost piles include a mix of "greens," like fruit and vegetable scraps, and "browns," like dry leaves, paper and small twigs.

What you can compost

  • Fruit and vegetable peels
  • Coffee grounds
  • Crushed eggshells
  • Shredded paper
  • Yard trimmings
  • Tea bags
  • Pet hair

What you can't compost

  • Dairy
  • Meat
  • Bones
  • Oils and fats
  • Charcoal ash
  • Yard trimmings treated with pesticides
  • Pet waste and cat litter

Pro tip: If you buy conventional bananas and oranges, the peels usually contain pesticides. You may want to skip those, or switch to organic. 

How to start a compost bin

You can compost indoors or outdoors, so even if you don’t have a backyard, you can still start a small compost pile in your kitchen or on an apartment patio. For indoor or patio composting, you’ll need a special indoor composting bin, available online or from home improvement stores. They’re self-contained, and they come in different sizes and designs.

Backyard composting is a little more flexible. You can use a composting bin, or you can just start a compost pile in a shady area. You’ll be churning the pile with a rake or shovel to keep oxygen flowing through the mix. The compost needs to sit on bare dirt to attract worms and beneficial bacteria, so choose an appropriate space if you go the DIY route.

Composting is all about layering materials and getting a good mix of different things to create a nutrient-rich conditioner for your soil.

Once you’ve decided on a bin or an outdoor spot, you’ll need a bucket in which to collect scraps from the kitchen. It can be anything from an old plastic ice cream pail to a fancy stainless-steel compost bucket with carbon filters! Try to choose one with a lid to keep odors contained. A good rule of thumb is to store it under the kitchen sink, so it’s out of the way but still easy for everyone in the family to access.

How to layer a compost bin


Once you’re set with a location and collection pail, it’s time to start layering and aerating. Think of your compost bin like a layered dish.

  1. Build a breathable base. Start with 4 to 6 inches of bulky brown materials, such as small twigs, untreated wood chips or coarse plant stalks. This helps excess moisture drain and allows air to circulate through the bottom of the bin.
  2. Add a layer of green materials. Use nitrogen-rich materials like fruit and vegetable scraps, coffee grounds, paper filters, crushed eggshells or fresh grass clippings.
  3. Cover with a thicker layer of brown materials. Add carbon-rich materials like dry leaves, shredded paper, shredded cardboard (without tape or wax) or small twigs.
  4. Repeat the green-and-brown layers. Continue alternating the green and brown materials as you fill the bin. Pro tip: Use approximately two to three parts browns for every one part greens by volume.
  5. Finish with browns. Cover your greens with 4 to 8 inches of dry leaves of another brown material. This can help reduce odors and pests.
  6. Monitor moisture and airflow. To keep compost from getting moldy, and to help speed up the breakdown of materials, you’ll need to mix the compost to keep air moving throughout the pile. Many indoor and outdoor bins have a tumbler feature, which makes this process easy. With a tumbler, you just crank a handle to spin the container or move paddles through the compost, and aeration is done. 

Depending on the size of your pile and how often you aerate, it may take 6 months to a year before outdoor compost is ready to use in the garden. Smaller indoor composters and tumblers are generally faster, producing usable compost in as little as a few weeks. Whether fast or slow, that’s a lot of kitchen and yard waste that won’t end up in a landfill!

Common composting mistakes to avoid

To help your compost break down properly, watch out for these common composting mistakes.

Adding too many greens

Food scraps, coffee grounds and grass clippings are great for compost, but too many “greens” can make your pile wet and smelly. Balance them with “browns,” like dry leaves, shredded paper, cardboard or small twigs, to help absorb moisture and add carbon.

Forgetting to turn your compost

Your compost pile needs oxygen to break down. If it sits untouched for too long, the materials can become compacted and slow the process. Give your pile a regular mix or turn to keep air moving through it.

For most backyard compost piles, turning your compost about once a month is a good rule of thumb. If you want your compost to break down faster, turn it more often – about 2 times a week for a tumbler or every few days for an active compost pile – to add oxygen and keep the materials active.

Letting the pile get too wet or dry

Your compost pile should feel damp but not soaked. If it’s too dry, add a little water. If it’s too wet, mix in more browns like leaves, paper or cardboard to help soak up extra moisture.

Composting the wrong materials

Some items can cause odors, attract pests or introduce bacteria you don’t want in your finished compost. Avoid adding meat, dairy, fats, oils, pet waste, diseased plants or yard trimmings treated with pesticides. Stick with compost-friendly materials and your bin will be much happier.
Frequently asked questions about composting

To start composting at home, choose a spot for your compost bin, collect food scraps and yard materials and layer a mix of “greens” and “browns.” Greens include things like fruit and vegetable scraps, coffee grounds and grass clippings, while browns include dry leaves, shredded paper, shredded cardboard and small twigs. Add a little water so the pile stays damp, turn it regularly to keep air flowing and let the scraps do their slow-and-steady transformation into compost.

You should not put meat, bones, dairy, fats, oils, pet waste, diseased plants or yard trimmings treated with pesticides in your compost bin. These items can cause odors, attract pests or introduce bacteria and other materials you don’t want in finished compost.

Composting can take a few months to a year or more, depending on your bin, materials, moisture and how often you turn it. A well-balanced pile with enough greens, browns, water and oxygen will usually break down faster than one that’s too dry, too wet or left untouched. You’ll know your compost is ready when it looks dark and crumbly and smells earthy.

Find a renewable energy plan that helps your home go green.

Enter your ZIP code to get started.

Please enter a valid input

Our customers have avoided


pounds of CO2

That’s like planting


new trees.